I thought it was worth having a longer tutorial type article describing exactly how to use 2x2 coin holders for the safe storage of your coins.
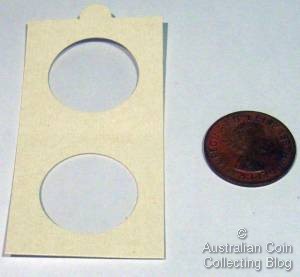
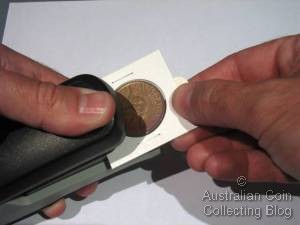
The 2x2 Coin Holder and Coin to be holdered
1. Select a holder that has an opening that is slightly larger than the diameter of the coin you are going to put in the holder. For thicker coins you may need to select a holder with a larger opening to allow the mylar window to stretch to accommodate the coin. In this case I have selected a 32.5 millimetre holder to hold this Australian Penny, which has a diameter of 30.8 millimetres.
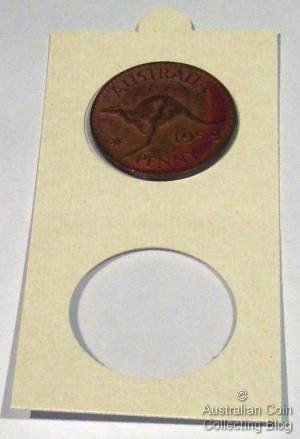
The Coin in the Holder
2. While wearing cotton gloves place the coin in the correct orientation in the holder. The staple type 2x2 (2 inch square) coin holder I am using here has a tab on the holder, this is the 'top'. You should orient the coin appropriately to suit. The Australian Penny here is a medal alignment coin, so I just put it the right way up. For coins from the United States (for example) which are coin alignment you need to decide whether to display the obverse or reverse the correct way up.
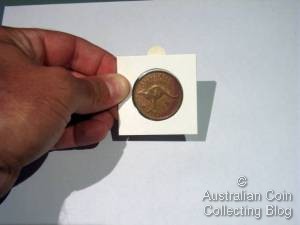
Folding the Holder
3. Fold the bottom part of the holder over the top half enclosing the coin. It is worth noting here that most 2x2 cardboard coin holders will only fold one way so you can tell if you have the coin sitting on 'inside' of the holder. Other indications that you have the coin sitting on the inside is that some coin holders have a glossy smooth coating on the 'inside' of the holder while the 'outside' is just regular cardboard.
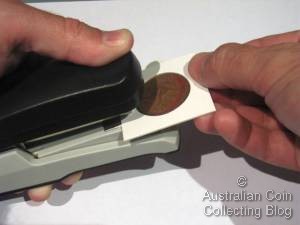
Stapling the Holder
4. While holding the coin in place you can now commence stapling the holder. I try to staple my holders in the same manner every time so they present a neat appearance when in album pages. I'm going to use 4 staples on this holder, but for larger or thicker coins you might use 6 or 8 to achieve an air tight seal.
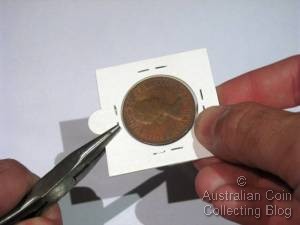
Finishing the Stapling
5. I'm just finishing off the last of the four staples here. I've placed them evenly around the window and tried to space them out the same distance from the window. It's at this stage that you should examine the edge of the holder to check that you have gotten a good seal with the number of staples you have used. If you haven't now is the time to add more.
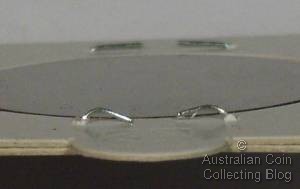
Normal Staple
6. It's worth mentioning the benefit of using flat clinching staplers now. The above picture shows a staple from a normal stapler. If you're using a stapler like this then you'll need to flatten these staples with pliers before you're done. There's a few reasons for this. Firstly, it's neater to have them flattened, secondly they are a lot easier to put into 2x2 coin album pages with the staples flattened. Finally, not flattening the staples can mean that 2x2 coin holders stored loose together can actually result in the non flattened staples scratching the coins in other holders.
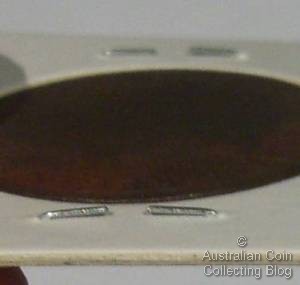
Flat Clinched Staple
7. You can see above a staple from a flat clinching stapler, there's nothing further that needs to be done with this.
Flattening the Staples
8. If you're using a normal stapler you'll need to flatten the staples on the 2x2 coin holder. I use pliers. You need to be careful that you don't puncture the mylar window (or worse damage the coin) with the end of the pliers while you are flattening them.
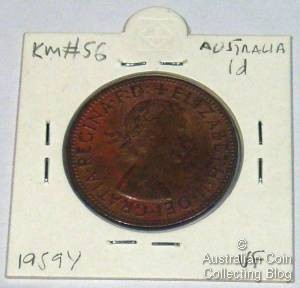
The Finished Product
9. The last step is to put any notes on the holder that you need to identify the coin. I always put the Krause number, country, denomination, year and mint mark, and grade on the 'front' of my holders. On the back I put a unique catalogue number that refers back to my central coin catalogue so I can tell where I bought the coin and how much it cost me.
And that's it.....how to holder up a coin in a 2x2 coin holder.
Posted by mnemtsas at October 26, 2008 8:23 PM
Subscribe to our Newsletter